People
SIDE: Key Features Installation Quick Start Checklist Theme Settings Header Color Scheme Website width Thumbnails Per Row Thumbnail Aspect Ratio Thumbnail Gap Image Radius Pagination Style Post Card Display Post Image Style Recent Posts Navigation Optional Pages Removing Demo Features Comments Updating the ThemeTroubleshooting / FAQ Credits and Support Announcement Bar Social Accounts
Documentation
People is a clean, minimal Ghost theme built for personal bloggers and editorial publications. It pairs a magazine-style post grid with a fully featured editor experience — dark mode, flexible navigation, and granular control over what each post card displays. This page covers everything you need to set it up and make it your own.
Key Features
- Light, Dark, and Auto (system-matched) color schemes
- Fully configurable post grid — columns, gap, aspect ratio, and image radius
- Three pagination styles: Pagination, Load More, and Infinite Scroll
- Granular post-card display toggles (title, tag, excerpt, avatar, date, reading time, comments icon, featured icon, lock icon)
- Custom multi-level dropdown navigation, built without needing custom code
- Dedicated Authors directory and Tags directory page templates
- Native Ghost Comments support
- A complete in-theme Style Guide page for previewing every content card
Installation
- Download the theme
.zipfile. - In Ghost Admin, go to Settings → Design and branding → Change theme.
- Click Upload theme and select the
.zipfile. - Once it's validated, click Activate.
If the upload is rejected, the most common cause is the zip containing a wrapper folder instead of the theme files at the top level.
Quick Start Checklist
Right after activating, do these in order:
- Set your logo and accent color under Settings → Design and branding → Brand.
- Choose a color scheme (Light / Dark / Auto) — see Color Scheme below.
- Set up your Navigation — see Navigation for the dropdown syntax.
- Decide on your post grid layout — columns, image ratio, and pagination style.
- Create the optional pages: Authors directory, Tags directory, and the Style Guide (see Optional Pages).
- If you don't need the live theme-settings demo panel, remove it — see Removing Demo Features.
Theme Settings
All of these live under Settings → Design and branding → Brand and theme.
Header
The Site Header injects code inside the <head> section of every page on your website.
You can access this feature from:
Ghost Admin → Settings → Code Injection
Use this area for:
• Custom CSS styling
• Google Analytics or Google Tag Manager
• Meta verification codes (Google, Bing, Pinterest, etc.)
• Font imports (Google Fonts, Adobe Fonts)
• Other scripts that need to load before the page content
Example uses:
• Change theme styles with custom CSS.
• Add website verification codes.
• Install analytics and tracking services.
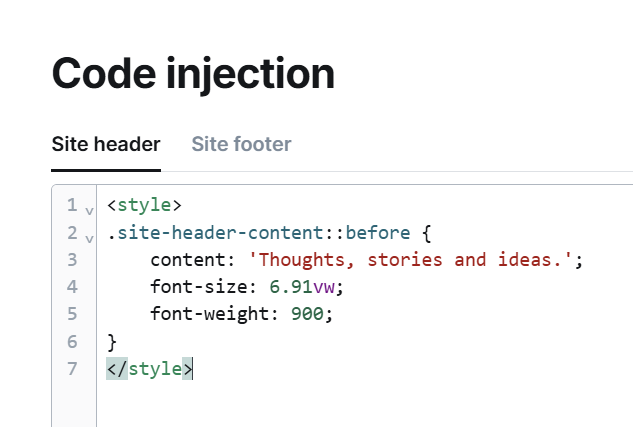
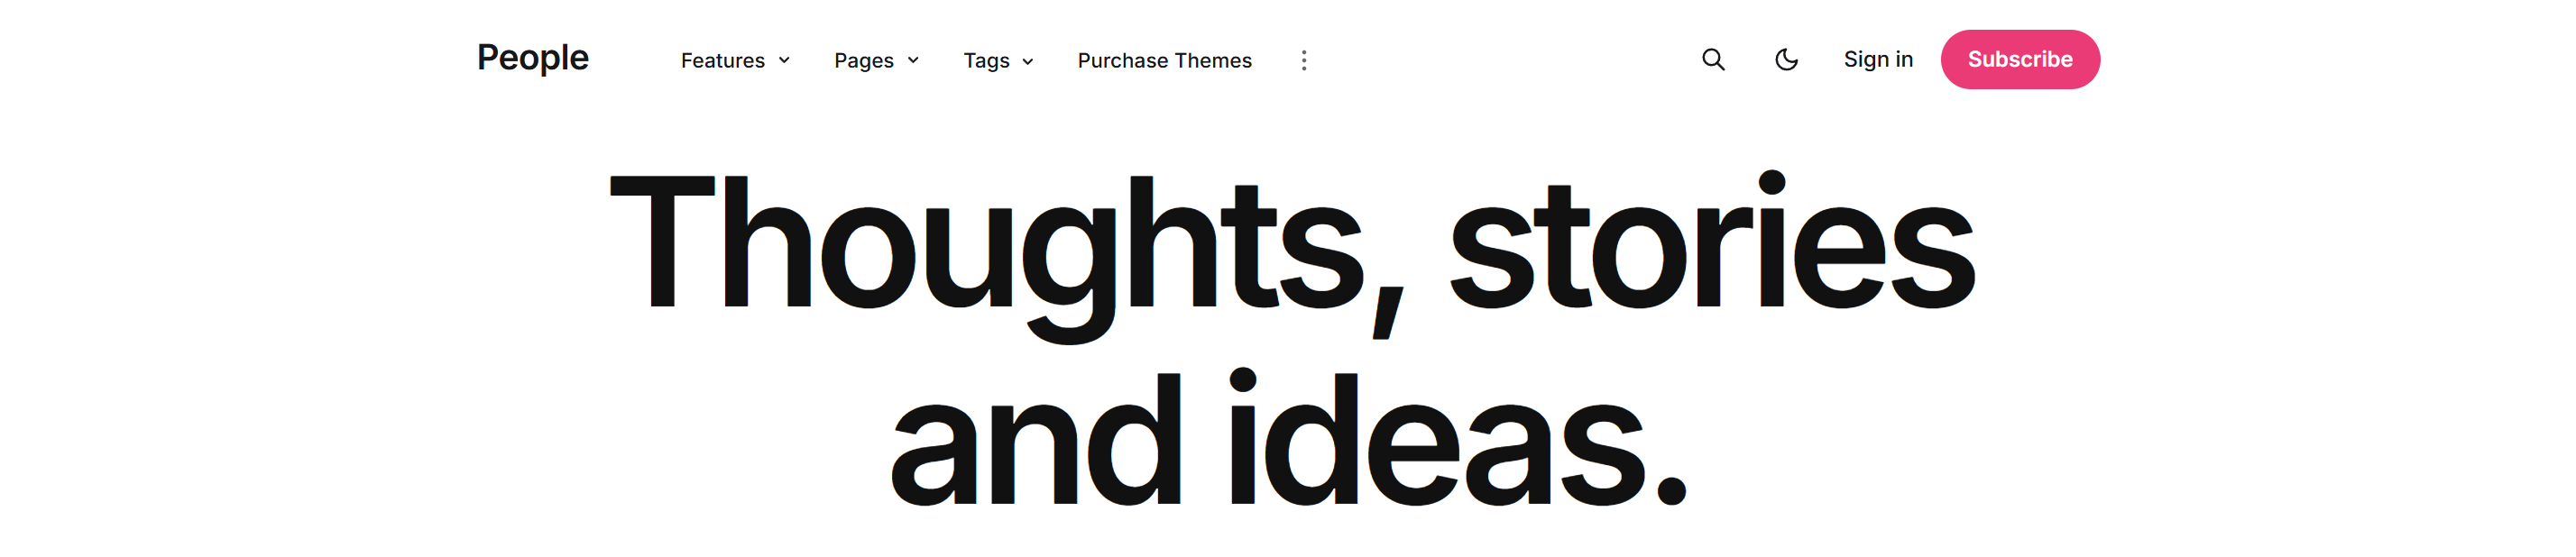
Customize Font Size & Weight
You can easily adjust the text size and font thickness by editing the following CSS properties.
- font-size – Controls the size of the text.Examples:
- Larger value = Larger text.
- Smaller value = Smaller text.
4vw5.5vw6.91vw8vw- font-weight – Controls the thickness of the text.Common values:
400= Regular500= Medium600= Semi Bold700= Bold800= Extra Bold900= Black (Heaviest)
Color Scheme
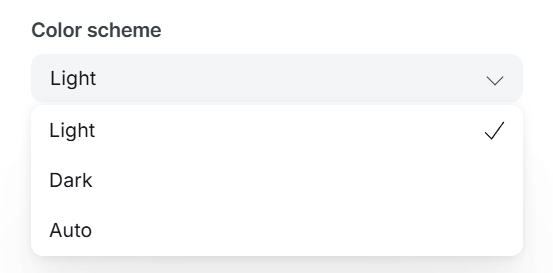
Auto follows the visitor's OS-level light/dark preference. Visitors can also override it manually using the moon/sun toggle in the header.
Website Width
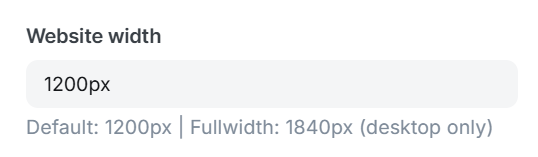
The Website Width setting controls the maximum width of your website layout on desktop devices.
Enter a value in pixels (e.g., 1200px) to adjust the content width.
Default: 1200px – Recommended for most websites.
Full Width: 1840px – Creates a wider desktop layout for larger screens.
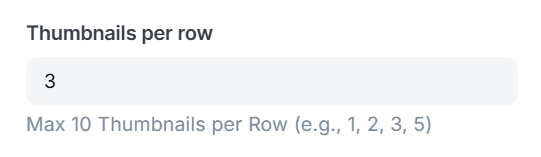
Thumbnails Per Row
The Thumbnails Per Row setting controls how many post thumbnails are displayed in each row on the homepage.
Enter a number from 1 to 10.
Example:
- 3 = Displays 3 thumbnails per row.
- 5 = Displays 5 thumbnails per row.
Thumbnail Aspect Ratio
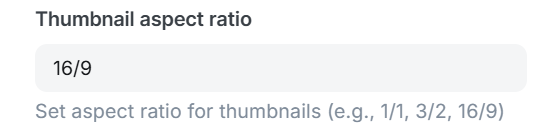
The Thumbnail Aspect Ratio setting controls the shape of post thumbnails displayed on your website.
Enter a supported aspect ratio, such as 1/1, 3/2, or 16/9.
Example:
- 1/1 = Square thumbnails.
- 3/2 = Standard landscape thumbnails.
- 16/9 = Widescreen thumbnails.
Thumbnail Gap
The Thumbnail Gap setting controls the spacing between post thumbnails.
Enter two values: the first for the row gap and the second for the column gap.
Example:
- 4.2vmin 4.2vmin = Equal spacing between rows and columns.
- 4.2vmin 4.8vmin = Smaller row gap and wider column gap.
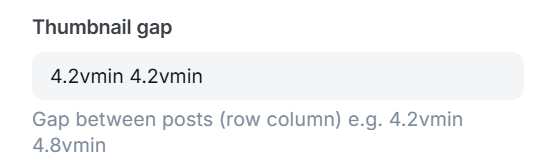
Image Radius
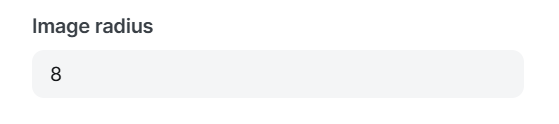
The Image Radius setting controls the roundness of image corners across the website.
Enter a value in pixels.
Example:
- 0 = Square corners.
- 8 = Slightly rounded corners.
- 20 = More rounded corners.
Pagination Style
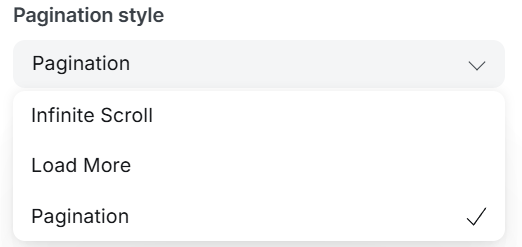
The Pagination Style setting controls how visitors load more posts on your website.
Available options:
- Infinite Scroll – Automatically loads more posts as visitors scroll down.
- Load More – Displays a Load More button to load additional posts.
- Pagination – Displays page numbers for easy navigation between pages.
Post Card Display
All of the following are simple on/off toggles:
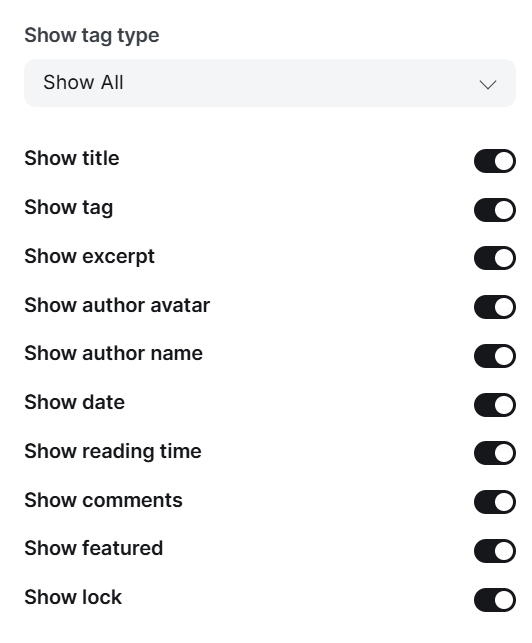
Tag Display lets you choose between showing only the Primary tag or All tags on each card.
Post Image Style
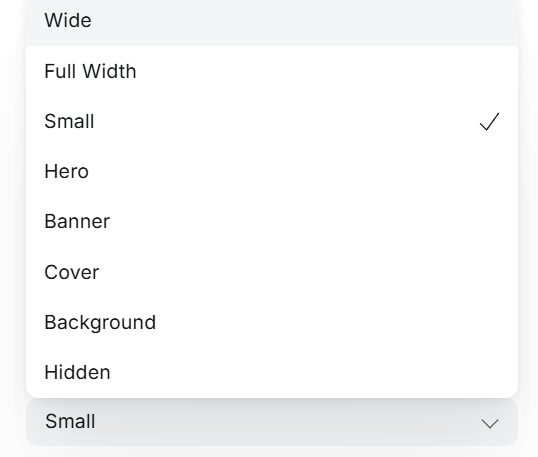
The Post Image Style setting lets you choose how the featured image appears on individual post pages.
Available options:
- Wide – Displays the image in a wide content layout.
- Full Width – Stretches the image across the full browser width.
- Small – Displays a compact image above the post content.
- Hero – Shows a large hero image at the top of the post.
- Banner – Displays the image as a horizontal banner.
- Cover – Uses the image as a large cover section.
- Background – Displays the image as the post header background.
- Hidden – Hides the featured image from the post page.
Recent Posts
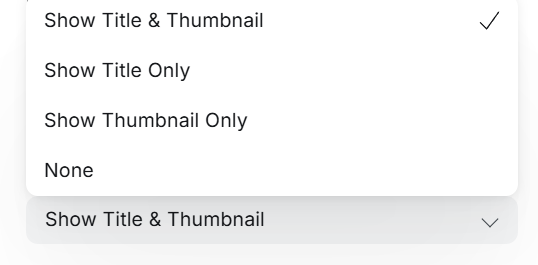
The Recent Posts setting controls what information is displayed in the Recent Posts section.
Available options:
- Show Title & Thumbnail – Displays both the post title and featured image.
- Show Title Only – Displays only the post title.
- Show Thumbnail Only – Displays only the featured image.
- None – Hides the Recent Posts section.
Navigation
Set up navigation under Settings → Navigation. People supports multi-level dropdown menus using a simple prefix system in the Label field — no code required.
Features

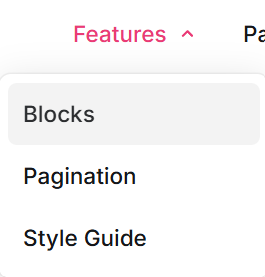
Navigation Menu
The Navigation settings let you create and organize your website's menu.
To add a menu item, enter a Label and its corresponding URL. Drag and drop items to reorder them.
Special prefixes:
- # – Creates a non-clickable menu heading.
- + – Creates a dropdown parent menu.
- - – Creates a submenu item under the nearest parent menu.
Example:
- # Features → Section heading.
- + Pages → Dropdown menu.
- - Blocks → Dropdown item.
- - Style Guide → Dropdown item.
Purchase Themes

% People Themes
More Menu
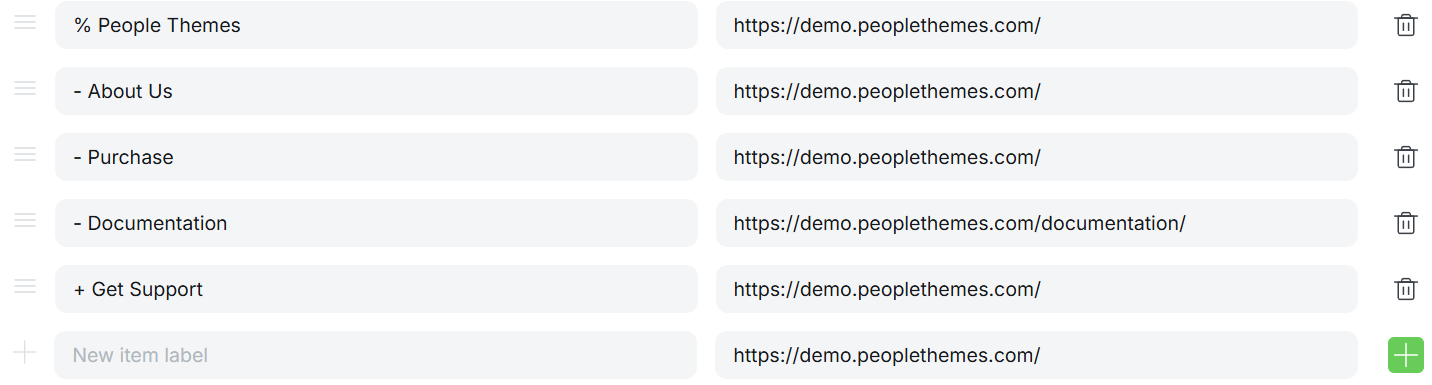
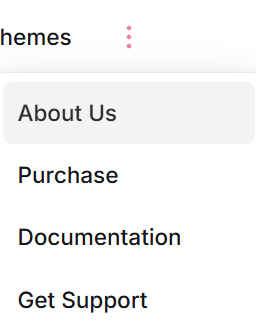
Create a More Menu by using the % prefix in the Navigation settings.
Example:
- % People Themes – Creates the More (⋮) menu.
- - About Us
- - Purchase
- - Documentation
- - Get Support
Optional Pages
The theme ships with a few page templates that activate automatically based on the Page slug you choose in Ghost Admin:
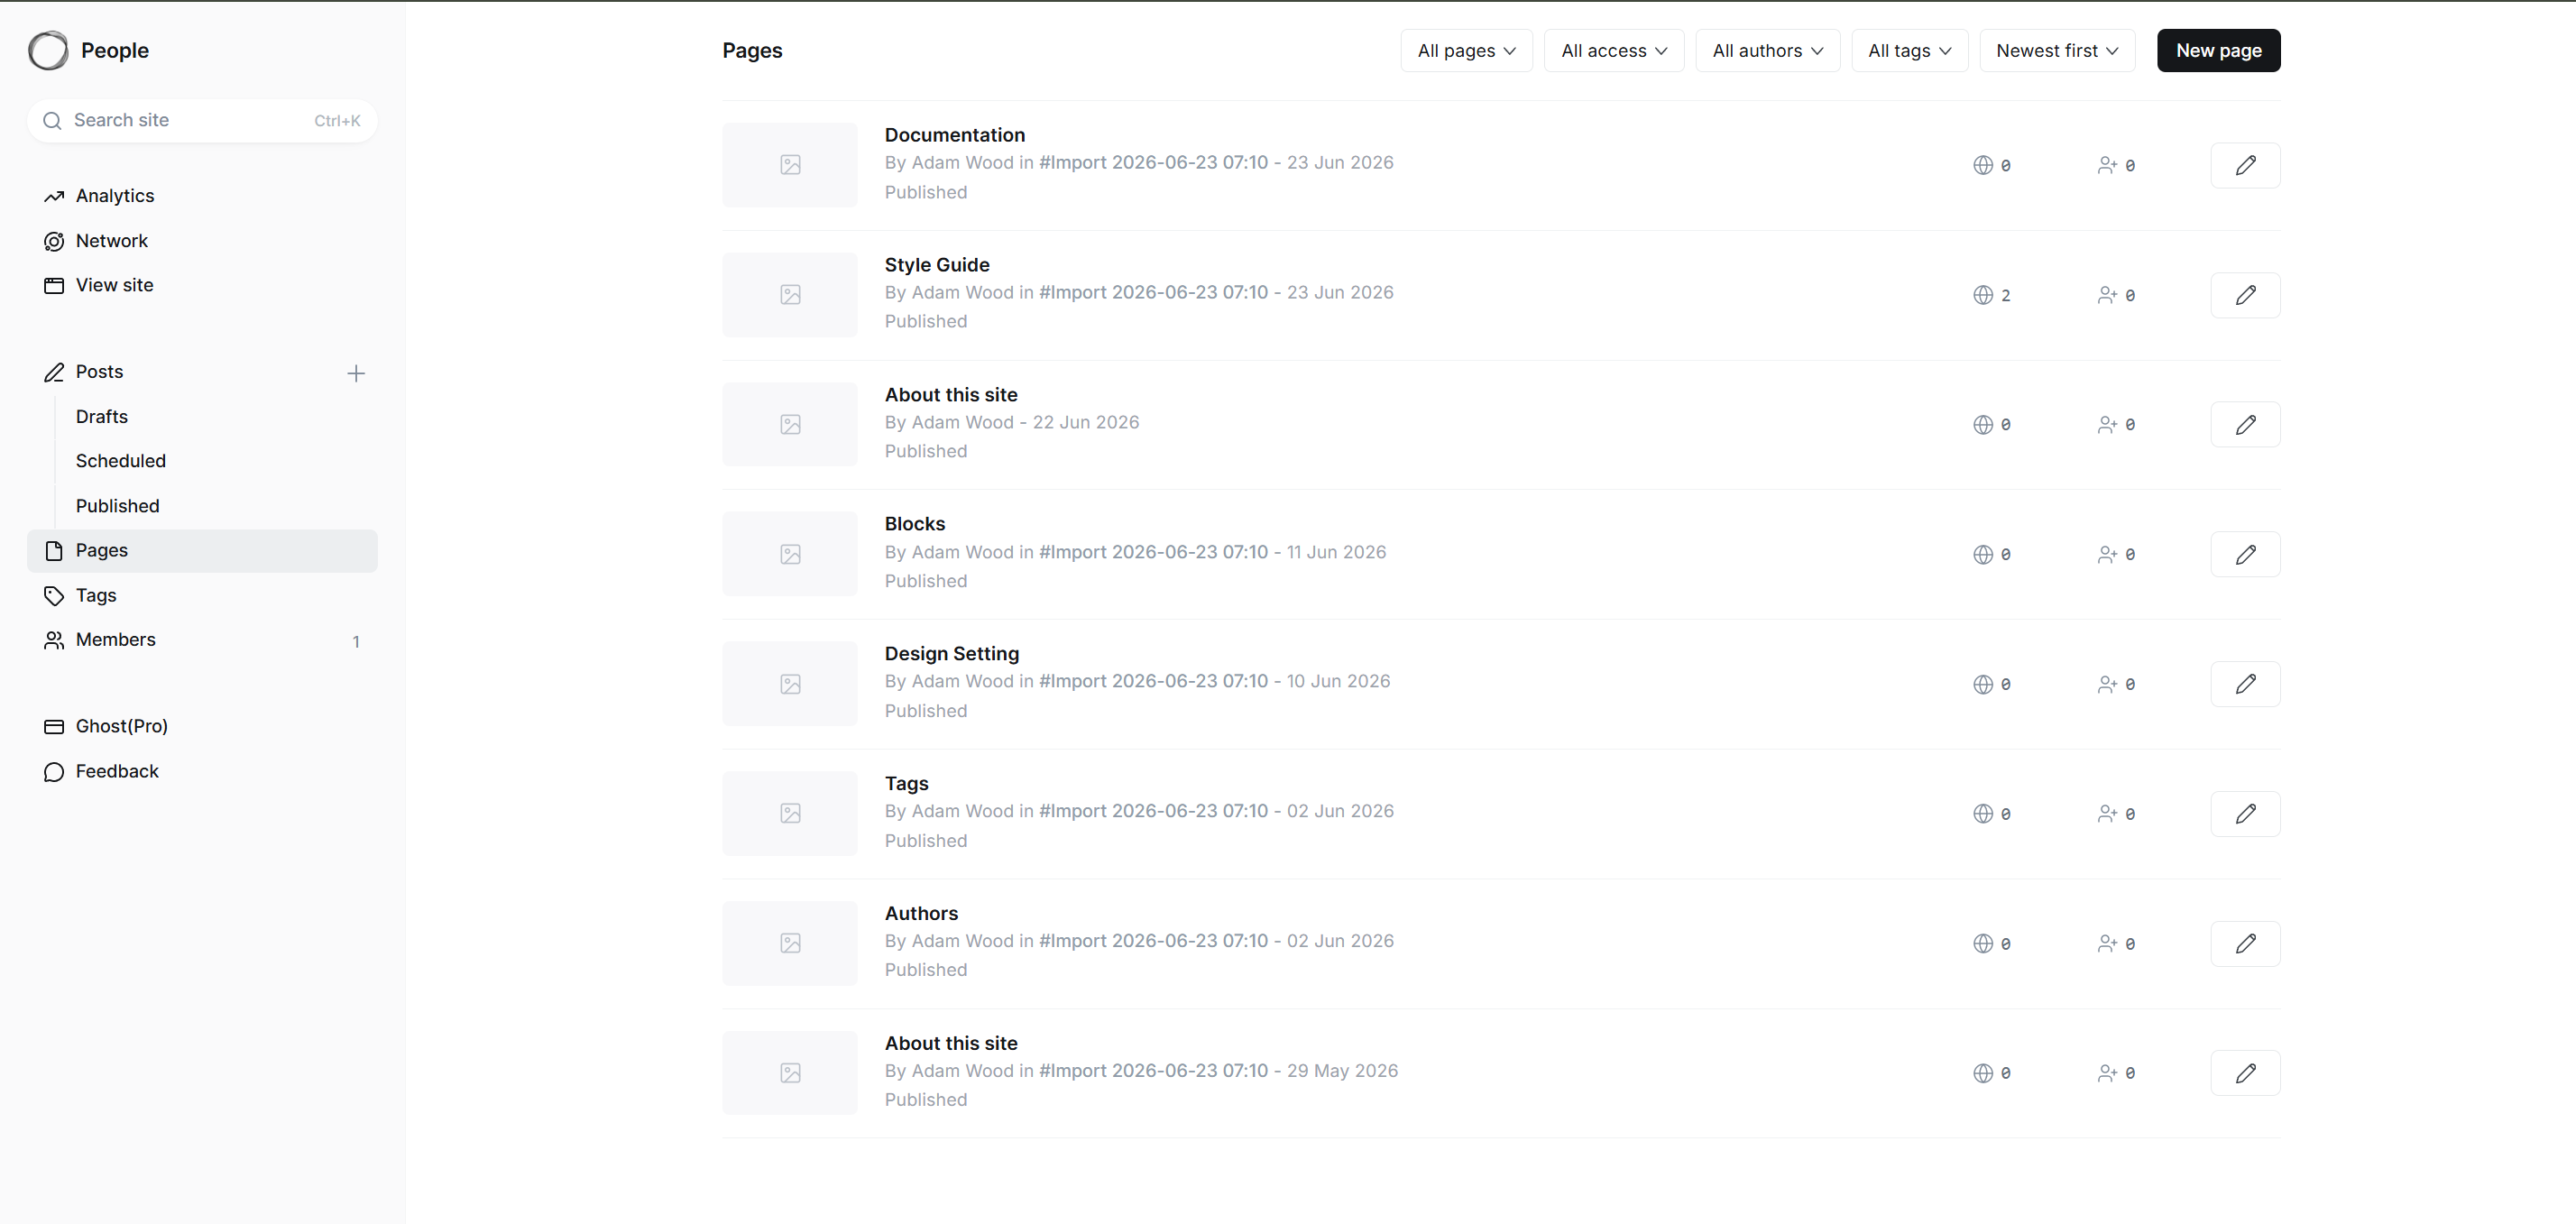
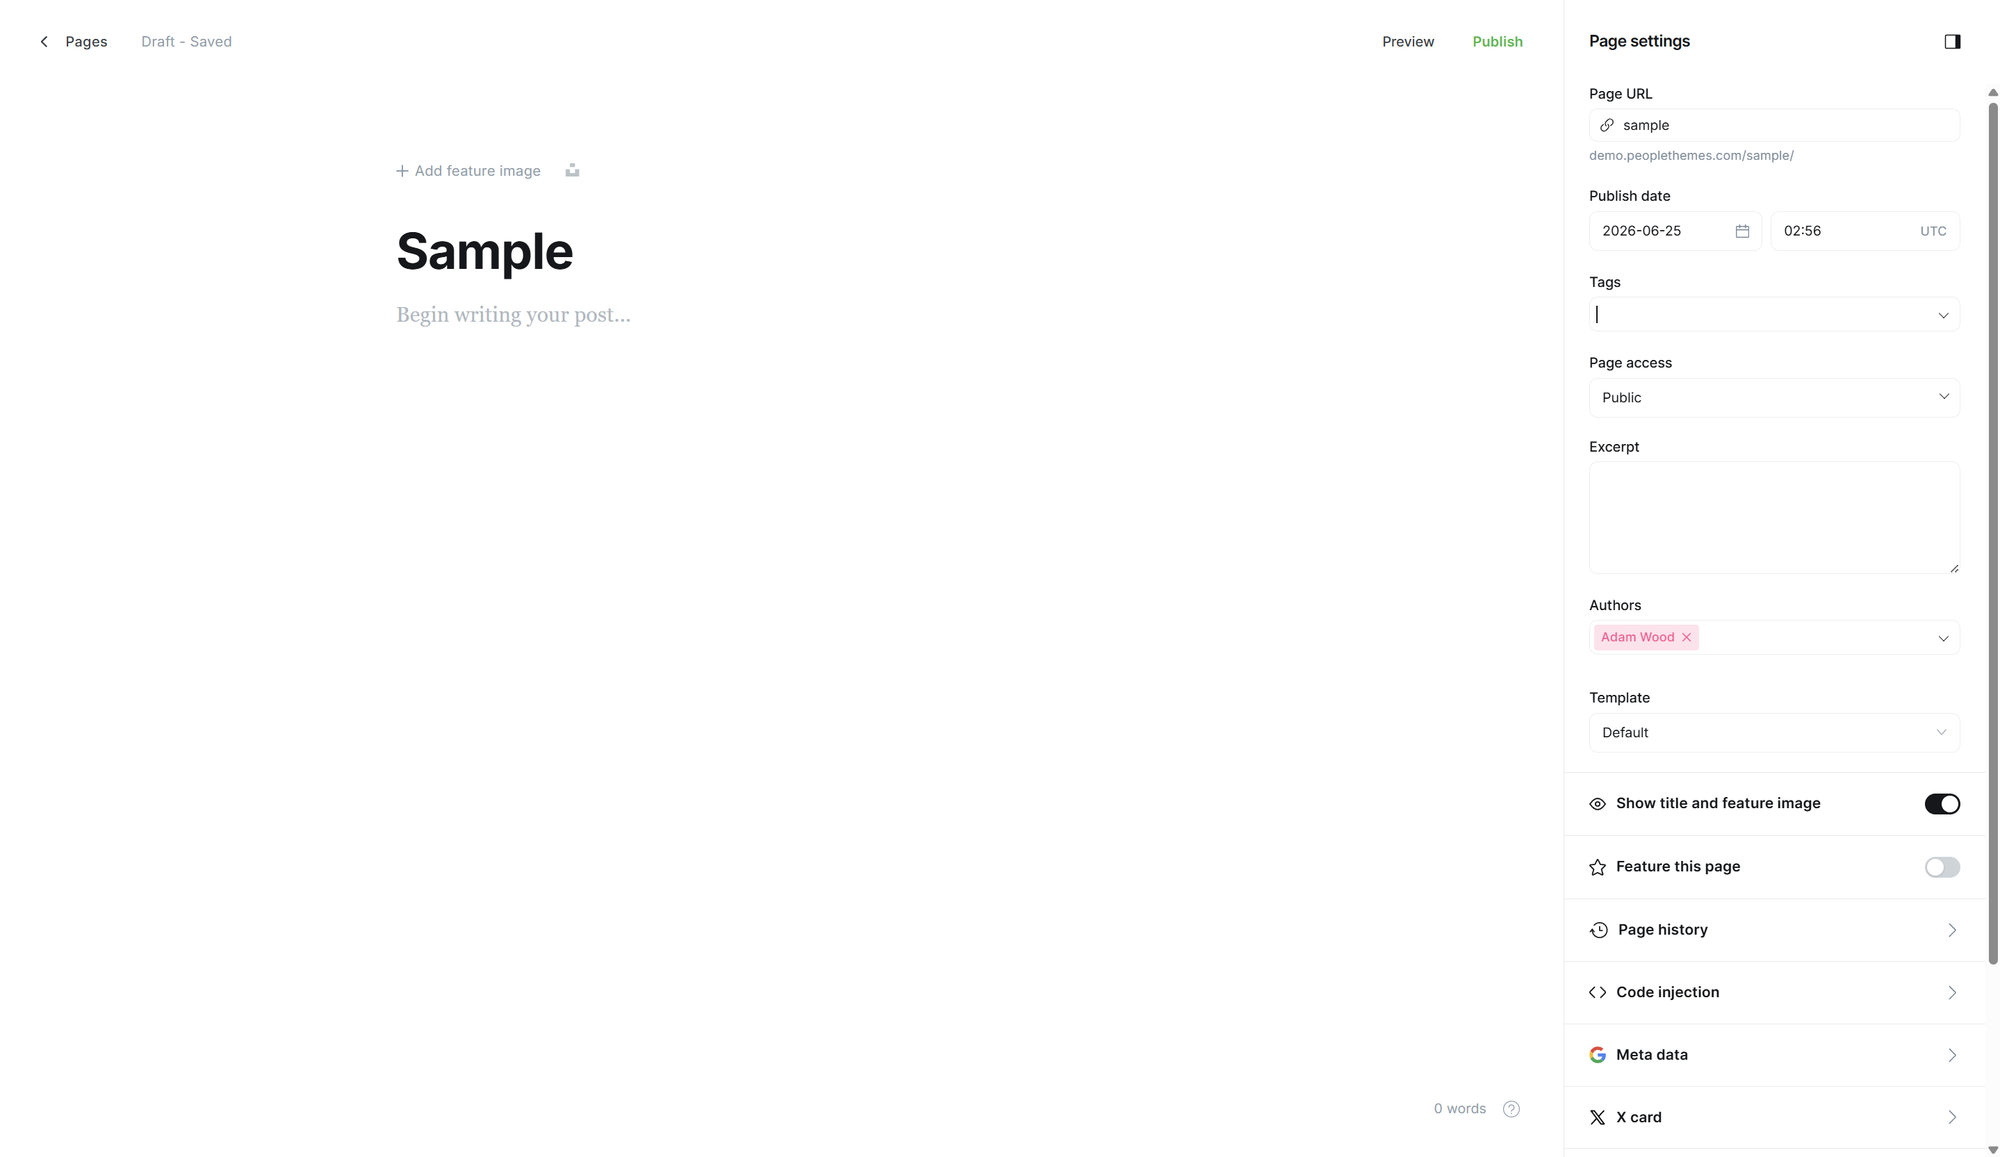
To use any of these: create a new Page in Ghost Admin, set its title, then set the URL slug to match exactly (e.g. authors). Ghost will automatically use the matching template — you can leave the page content empty.
Removing Demo Features
The floating gear icon (theme settings preview panel) is for demo purposes only and should be removed before going live:
- Remove the
{{> "demo"}}partial call fromdefault.hbs. - Delete
partials/demo.hbs. - Delete
assets/css/demo.css. - Delete
assets/js/demo.js.
Comments
People supports Ghost's native commenting system. Enable it under Settings → Membership → Comments, then choose who can comment (all members, paid members, or off). The comment icon on each post card respects the Show Comments Icon toggle in theme settings.
Updating the Theme
All of your settings (colors, navigation, custom toggles) are stored in Ghost's database — not in the theme files. This means you can safely upload a new version of the theme .zip at any time without losing your configuration. Always back up any direct code edits you've made before updating, since those will be overwritten.
Troubleshooting / FAQ
Q: My navigation isn't showing a dropdown. A: Double-check the Label field uses the exact prefix symbols (#, -, +) with no extra space, and that the group ends with a + item.
Q: The Authors/Style Guide/Tags page is blank. A: Make sure the Page's URL slug matches exactly (authors, style-guide, tags) and that the page is Published.
Q: How do I switch between Light, Dark, and Auto? A: Settings → Design and branding → Brand and theme → Color Scheme. Visitors can still toggle manually unless you remove that control.
Q: Images upload but the cards still look wrong. A: Check Thumbnail Aspect Ratio and Thumbnails per Row in theme settings — mismatched ratios are the most common cause of stretched or cropped images.
Credits and Support
- Theme: People, by People Themes
- License: MIT
- Support: support@peoplethemes.com
Announcement Bar
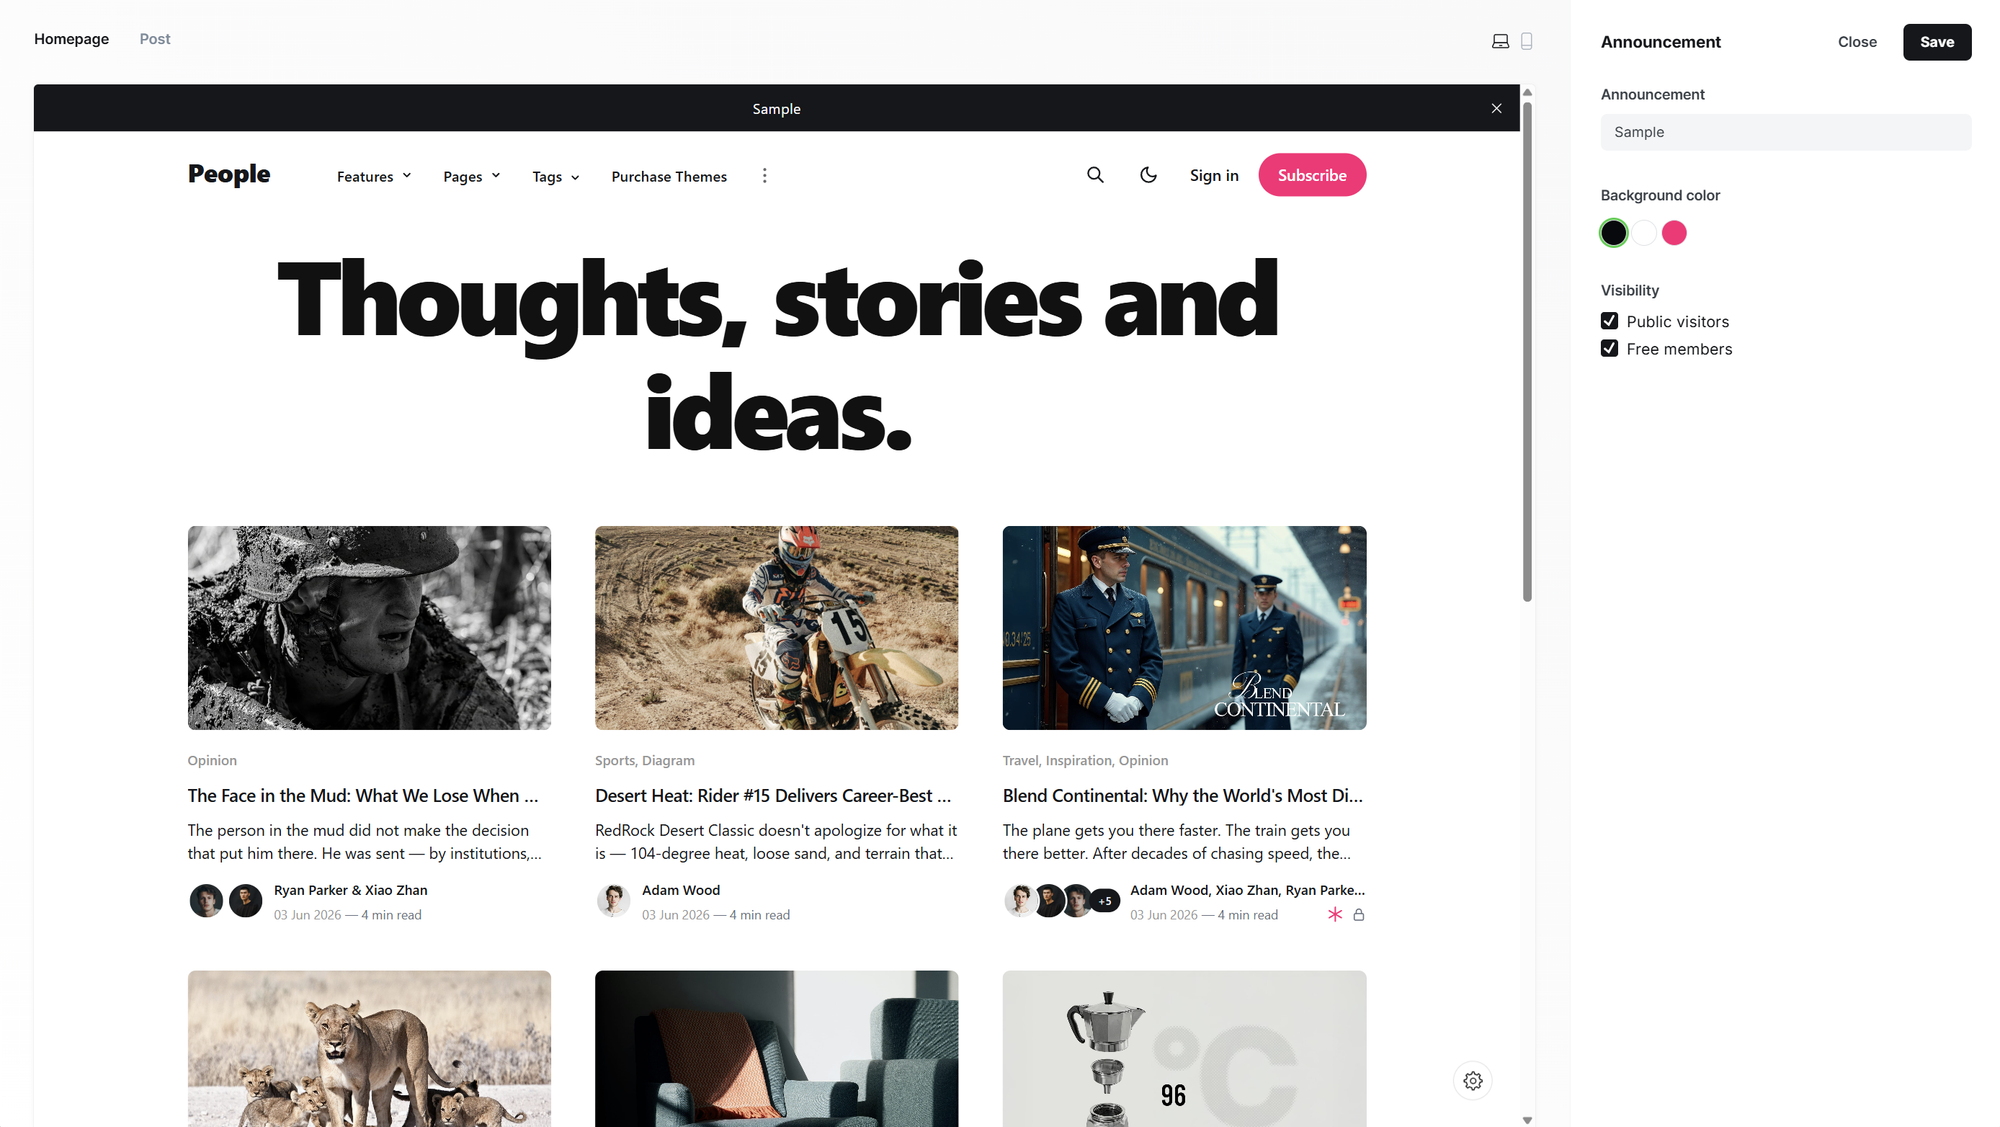
The Announcement Bar lets you display an important message at the top of your website. It is perfect for promoting announcements, special offers, product launches, events, or other important updates.
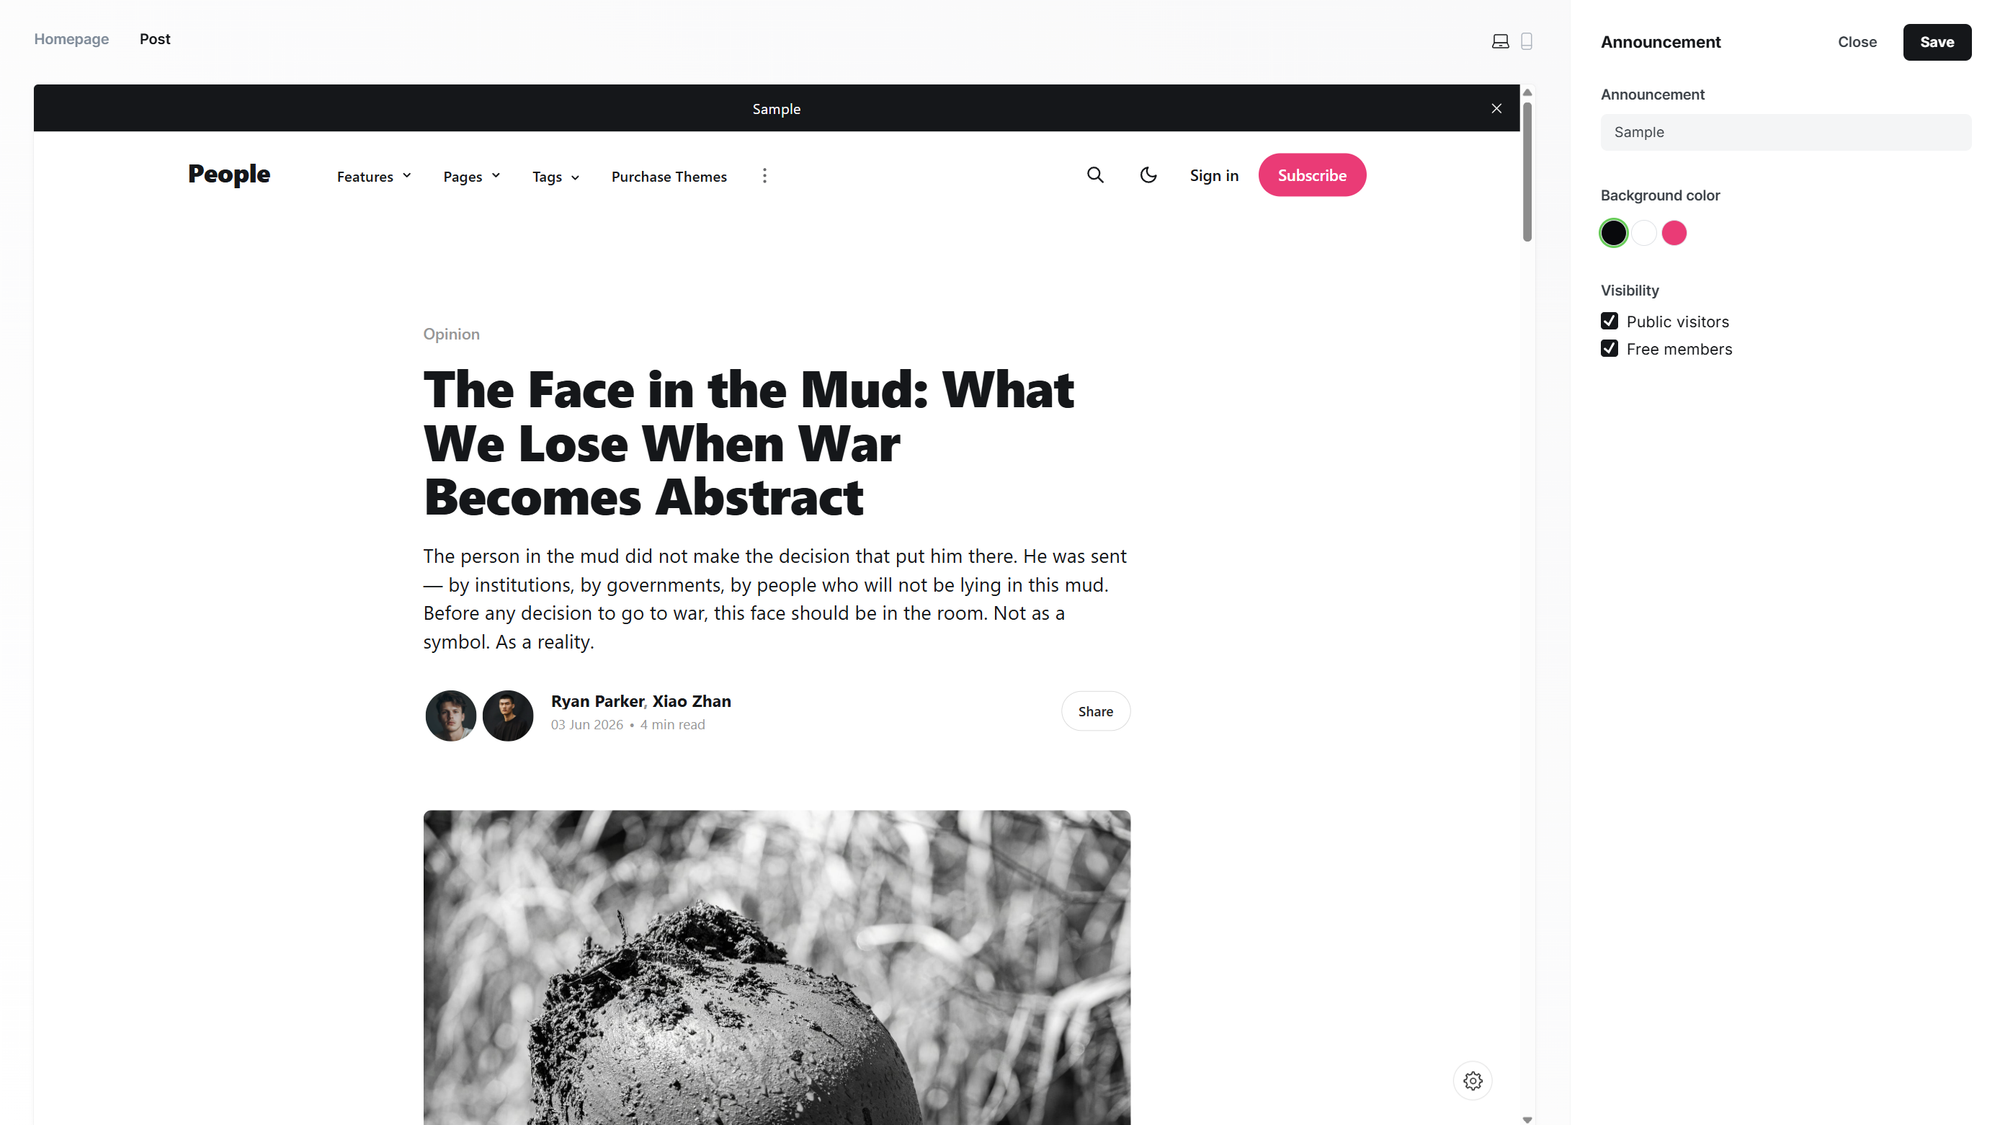
The theme supports separate announcement settings for the Homepage and Post pages, allowing you to display different messages for each section of your website.
How to customize the Announcement Bar:
- Go to Ghost Admin → Settings → Announcement Bar.
- Click Customize.
- Select either the Homepage or Post tab.
- Enter your announcement message.
- Choose a background color.
- Select the visibility options.
- Click Save to apply your changes.
Homepage
Customize the announcement bar that appears on the homepage. Use this area to welcome visitors, promote featured content, or advertise special offers.
Post
Customize a separate announcement that appears only on individual post pages. This is useful for promoting newsletters, memberships, related content, or limited-time campaigns while readers are viewing an article.
Announcement
Enter the message you want to display. For the best appearance, keep the text short and easy to read.
Examples:
• Welcome to our website.
• Subscribe to our newsletter.
• New articles published every week.
• Get 20% off this month.
Background Color
Choose a background color that matches your brand or helps your announcement stand out.
Visibility
Choose who can see the announcement bar.
• Public Visitors
Displays the announcement to visitors who are not signed in.
• Free Members
Displays the announcement to users with a free membership.
You may enable one or both options depending on your audience.
Notes
• The Homepage and Post pages can display different announcement messages.
• Changes are applied immediately after clicking Save.
• Visitors can dismiss the announcement bar by clicking the × (Close) button.
• Short, clear announcements provide the best user experience and maintain a clean website layout.
Social Accounts
The Social Accounts settings allow you to connect your website with your social media profiles. These links are used for structured data, social sharing, SEO, and may also be displayed by the theme where supported.
You can access these settings from:
Ghost Admin → Settings → Social Accounts
To add a social profile, simply paste the full URL of your account into the corresponding field and save your changes.
Supported platforms include:

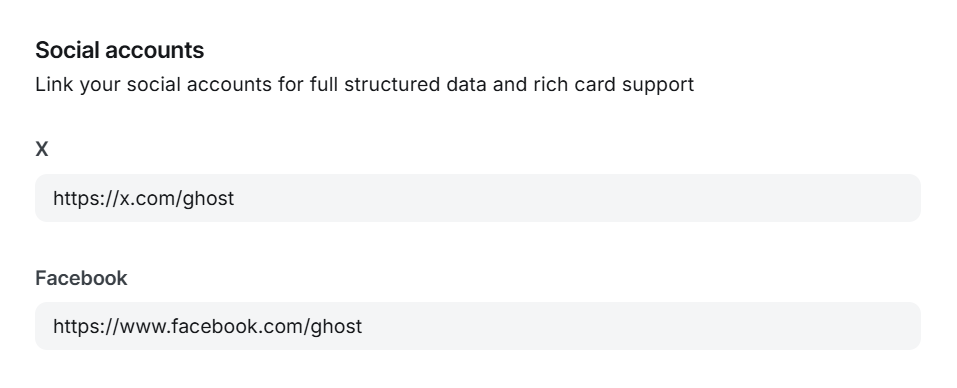
Please enter all social media links using the full URL format, as shown in the examples above.
Updates
Release First Version 26 June 2026
15 July 2026 Updated
- Social Media Icon Integrated
21 July 2026 Updated
- Smooth Scroll
People Themes
About
We're a small studio focused entirely on Ghost — designing themes that are clean, fast, and built to last. From layout to typography, every detail is considered so you can focus on your content. We believe good design should feel unique, without compromising function."
Support
Stuck on something, or just have a question about this theme? Drop us a message — we usually reply within 24 hours.
People Themes — Uncommon Ghost themes.