Luna
SIDE: Key Features Installation Quick Start Checklist Theme Settings Navigation Optional Pages Blocks Comments Updating the Theme Troubleshooting and FAQ Credits and Support Announcement Bar Social Accounts
Documentation
Luna is a clean, minimal Ghost theme built for personal bloggers. It pairs a distraction-free single-column reading layout with a fully featured browsing experience — Light, Dark, and Auto color modes, a fullscreen image lightbox, smooth eased scrolling, and PJAX page transitions. This page covers everything you need to set it up and make it your own.
Key Features
- Minimal, single-column, text-first post feed — cards show just the title, no clutter
- Custom multi-level dropdown & "More" overflow navigation, built entirely from a simple prefix system in Ghost Admin (no coding needed)
- Dedicated Authors directory page and a Tags directory page, both listing post counts per author/tag
- Built-in People Blocks — two-button, single-button, and shop-button shortcodes you can type directly in the Ghost editor
- Light / Dark / Auto color scheme switcher, plus an adjustable image corner radius from the theme's Ghost Admin settings
- Configurable "Recent Posts" section under each article — show title & thumbnail, title only, thumbnail only, or hide it entirely
- Smooth-scroll experience and instant, app-like page transitions (PJAX) between pages
- Numbered pagination with previous/next controls and ellipsis for long archives
- Multi-author support with an overflow "+N" avatar indicator when a post has more authors than fit
- One-click copy button on code blocks
- Automatic social account integration (X, Facebook, Instagram, LinkedIn, Threads, Mastodon, TikTok, YouTube, Bluesky) pulled from Ghost's built-in social settings
Installation
- Download the theme .zip file.
- In Ghost Admin, go to Settings, then Design and branding, then Change theme.
- Click Upload theme and select the .zip file.
- Once it's validated, click Activate.
If the upload is rejected, the most common cause is the zip containing a wrapper folder instead of the theme files at the top level.
Quick Start Checklist
Right after activating, do these in order:
- Set your logo and accent color under Settings, Design and branding, Brand.
- Choose a color scheme (Light, Dark, or Auto) — see Color Scheme below.
- Set up your Navigation — see Navigation for the dropdown syntax.
- Set your preferred Image Border Radius and Recent Posts display.
- Add your social profile URLs under Settings, Social Accounts.
- Create the optional Custom Tags page (see Optional Pages).
Theme Settings
All of these live under Settings, Design and branding, Brand and theme, unless noted otherwise.
Header
The Site Header injects code inside the head section of every page on your website.
You can access this feature from Ghost Admin, Settings, Code Injection.
Use this area for:
- Custom CSS styling
- Google Analytics or Google Tag Manager
- Meta verification codes (Google, Bing, Pinterest, etc.)
- Font imports (Google Fonts, Adobe Fonts)
- Other scripts that need to load before the page content
Customize Font Size and Weight
You can easily adjust the text size and font thickness by editing the following CSS properties.
font-sizecontrols the size of the text. Larger value equals larger text, smaller value equals smaller text.font-weightcontrols the thickness of the text. Common values: 400 Regular, 500 Medium, 600 Semi Bold, 700 Bold, 800 Extra Bold, 900 Black (Heaviest).
Color Scheme
Controls the overall color mode of the site.
- Light (default)
- Dark
- Auto — follows the visitor's OS-level light/dark preference
Visitors can also override it manually using the moon/sun toggle in the header. Their choice is remembered on return visits via local storage.
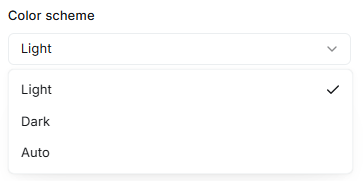
Image Radius
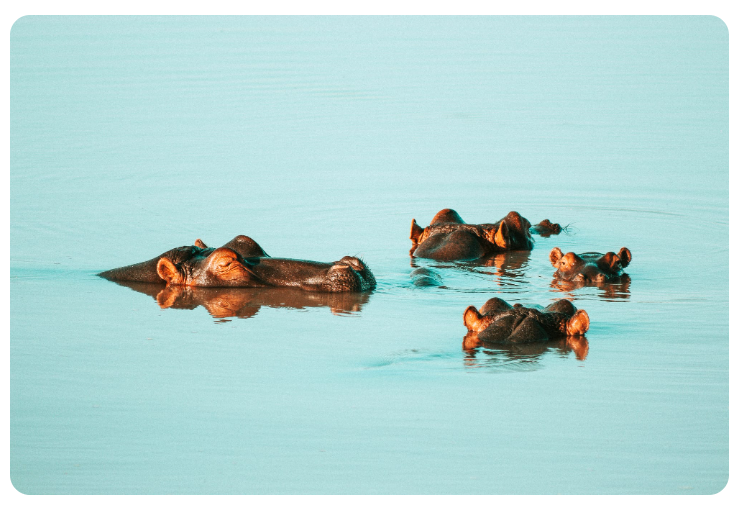
The Image Radius setting controls the roundness of image corners across the website, including post card thumbnails and content images.
Enter a value in pixels.
- 0 equals square corners
- 8 equals slightly rounded corners (default)
- 20 equals more rounded corners
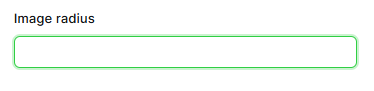
0px
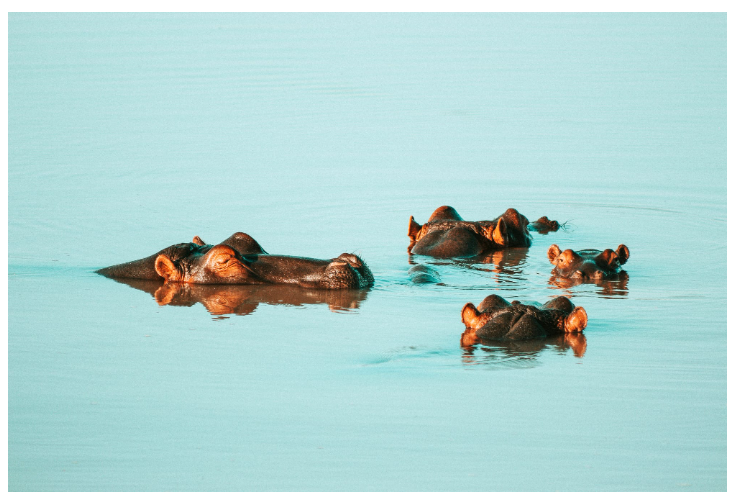
8px
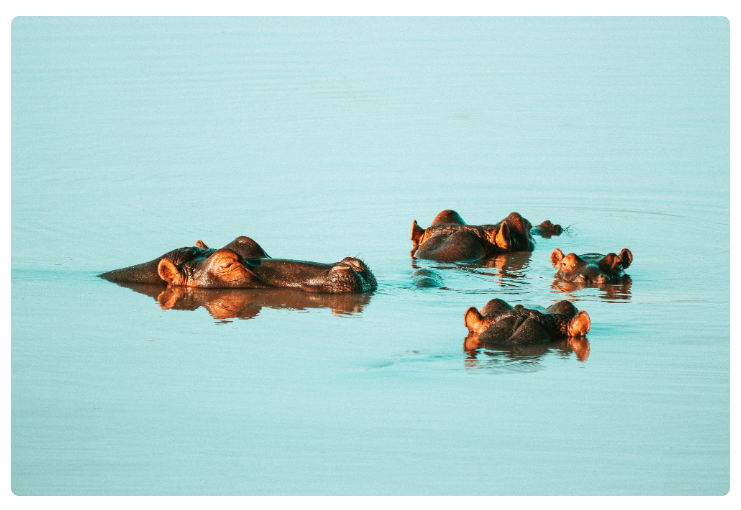
20px
Recent Posts
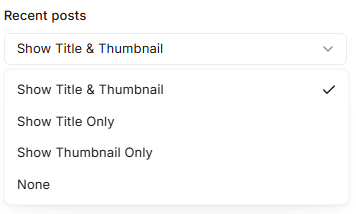
The Recent Posts setting controls what information is displayed in the Recent Posts section.
Available options:
- Show Title and Thumbnail — displays both the post title and featured image (default)
- Show Title Only — displays only the post title
- Show Thumbnail Only — displays only the featured image
- None — hides the Recent Posts section
Navigation
Set up navigation under Settings, Navigation. Luna supports multi-level dropdown menus using a simple prefix system in the Label field — no code required.
Navigation Menu
To add a menu item, enter a Label and its corresponding URL. Drag and drop items to reorder them.
Special prefixes:
| Prefix | Effect |
|---|---|
# | creates a parent dropdown menu |
- | creates a submenu item under the nearest # parent |
+ | creates the last submenu item under a # parent, closing the group |
% | creates a "more" parent menu (three-dot icon) |
@ | creates a submenu item under the nearest % parent |
$ | creates the last submenu item under a % parent, closing the group |
| (none) | creates a regular clickable menu item |
Example:
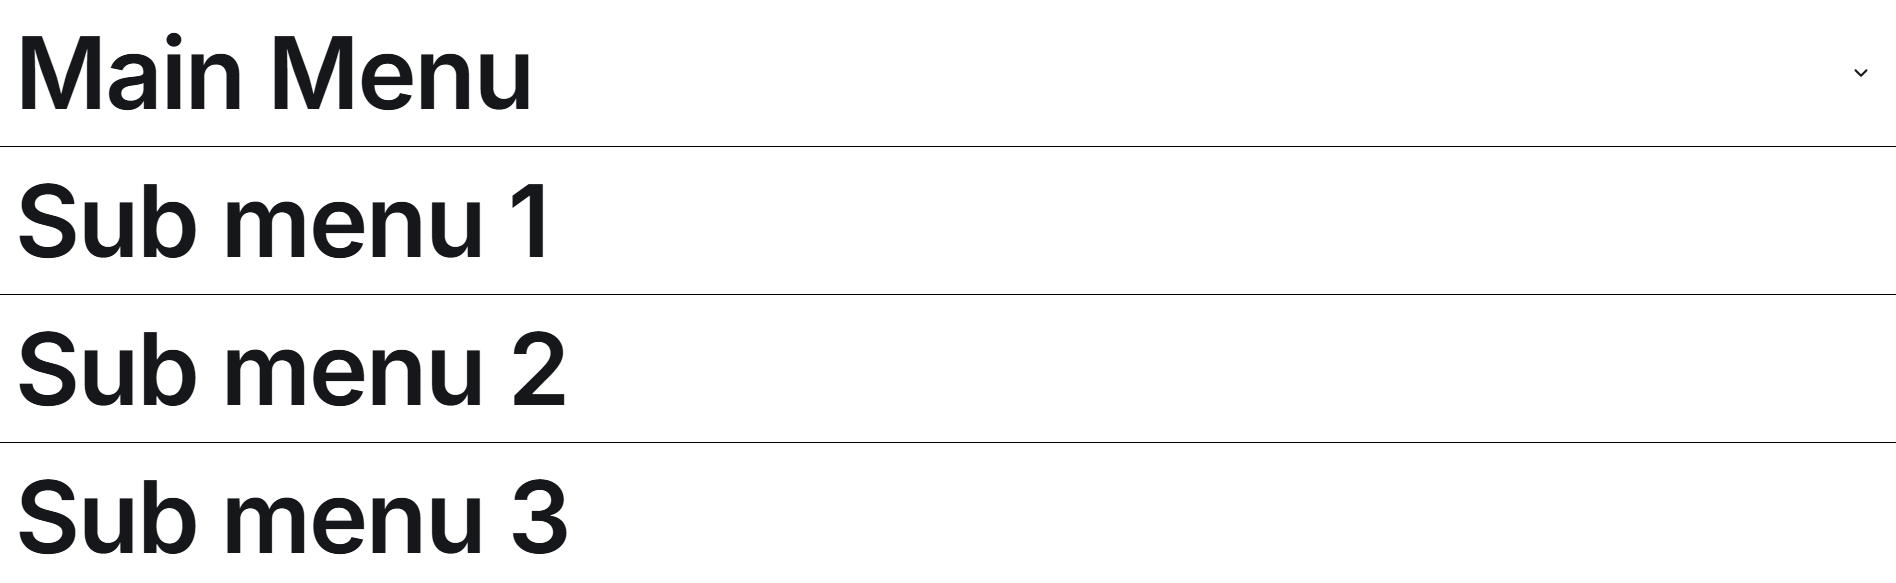
# Main Menu        → dropdown menu
- Sub menu 1            → dropdown item
- Sub menu 2            → dropdown item
+ Sub menu 3       → last dropdown item, closes the group

% More
@ About
$ Contact           → last item, closes the "more" group
SCREENSHOT — Header navigation showing a dropdown and the "more" menu open
Secondary Navigation
Displayed in the site footer, rendered without the prefix system — plain links only. Configure under Settings, Navigation, Secondary Navigation.
Optional Pages
Custom Tags Page
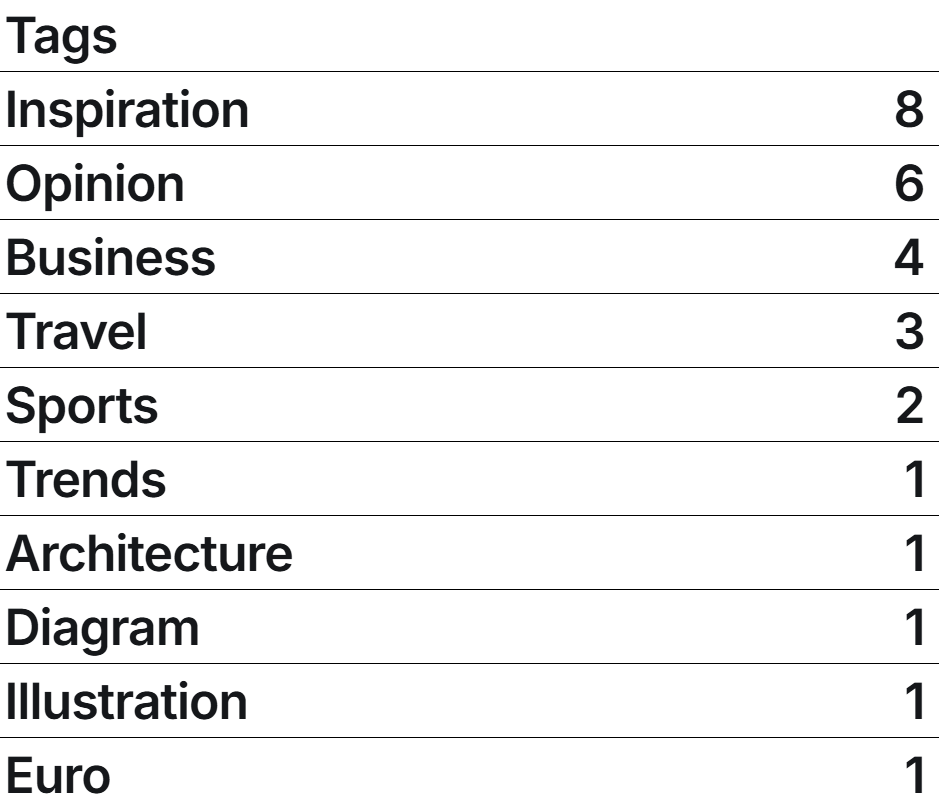
Luna includes a dedicated Custom Tags template listing every tag on the site with its post count, sorted from most to least posts.
To use it, create a new Page in Ghost Admin, add a title, then in the right sidebar under Page settings set Template to Custom Tags. Publish the page.
Blocks
Luna includes People Blocks — small, ready-made content elements you type directly into a paragraph in the Ghost editor, using a simple shortcode syntax. No HTML card or code needed.
Two Button — ::people1::
Creates two buttons side by side: a solid (filled) button and an outline button.
::people1 "Button 1 Text" "https://button1-url.com" "Button 2 Text" "https://button2-url.com"::An optional 5th value sets alignment (left, center, or right) — omit it to default to center:
::people1 "Buy Now" "https://example.com/buy" "Learn More" "https://example.com/info" "left"::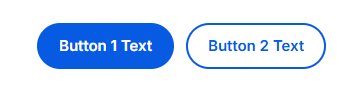
Shop Button — ::people2::
Creates a single button with a small cart icon, styled for product/shop links.
::people2 "Button Text" "https://shop-url.com"::Optional 3rd value sets alignment; optional 4th value picks one of 3 built-in cart icon styles (1, 2, or 3):
::people2 "Add to Cart" "https://example.com/product" "center" "2"::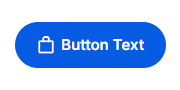
Single Button — ::people3::
Creates one plain button — same syntax pattern as the Shop Button, without the cart icon.
::people3 "Button Text" "https://button-url.com"::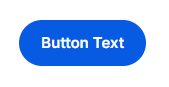
Type the shortcode as its own plain paragraph in the Ghost editor (not inside a Markdown or HTML card) — Luna's script automatically detects and replaces it with the styled button on page load.
Comments
Luna supports Ghost's native commenting system. Enable it under Settings, Membership, Comments, then choose who can comment — all members, paid members, or off.
Updating the Theme
All of your settings (color scheme, image radius, recent posts display, navigation) are stored in Ghost's database, not in the theme files. This means you can safely upload a new version of the theme .zip at any time without losing your configuration. Always back up any direct code edits you've made before updating, since those will be overwritten.
Troubleshooting and FAQ
Q: My navigation isn't showing a dropdown
A: Double-check the Label field uses the exact prefix symbols (#, -, +, %, @, $) with no extra space, and that each group ends with a + or $ item.
Q: The Custom Tags page is blank
A: Make sure the page's Template is set to Custom Tags under Page settings, and that the page is Published.
Q: How do I switch between Light, Dark, and Auto?
A: Settings, Design and branding, Brand and theme, Color Scheme. Visitors can still toggle manually unless you remove that control.
Q: Images aren't opening in the lightbox
A: The lightbox activates automatically on images inside post and page content. Confirm the image was inserted through the Koenig editor's image card, not embedded via raw HTML.
Credits and Support
- Theme: Luna, by People Themes
- Usage: Commercial and personal use allowed
- License: Subject to People Themes licensing terms
- Support: support@peoplethemes.com
- Terms: Terms of Service
For full licensing, usage, and redistribution terms, please refer to our Terms of Service.
Announcement Bar
The Announcement Bar lets you display an important message at the top of your website — for promoting announcements, special offers, or updates.
Luna supports separate announcement settings for the Homepage and Post pages, allowing different messages for each section.
This is a native Ghost platform feature (not theme-specific code), so it works the same way regardless of which theme is active.
Steps
- Go to Ghost Admin, Settings, Announcement Bar.
- Click Customize.
- Select either the Homepage or Post tab.
- Enter your announcement message.
- Choose a background color.
- Select the visibility options.
- Click Save to apply your changes.
Visibility
- Public Visitors — displays to visitors who are not signed in
- Free Members — displays to users with a free membership
You may enable one or both depending on your audience.
Notes
- The Homepage and Post pages can display different announcement messages.
- Changes are applied immediately after clicking Save.
- Visitors can dismiss the announcement bar by clicking the close button.
Social Accounts
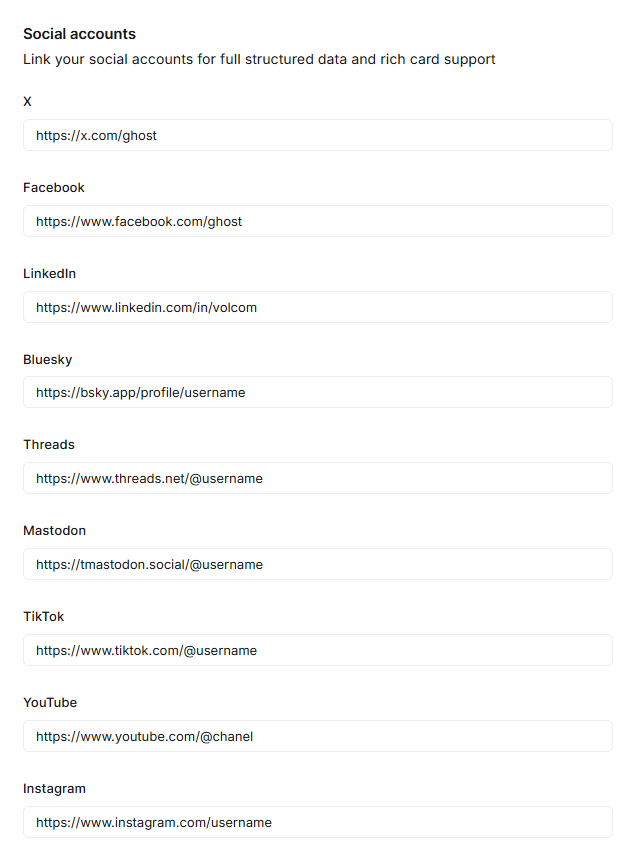
The Social Accounts settings allow you to connect your website with your social media profiles, used for structured data, social sharing, SEO, and displayed by the theme in the footer where supported.
Access these settings from Ghost Admin, Settings, Social Accounts. Paste the full URL of each account into the corresponding field and save.
Supported platforms: X (Twitter), Facebook, Instagram, LinkedIn, Threads, Mastodon, TikTok, YouTube, Bluesky.

Updates
Release First Version — [xx-xx-xx]
People Themes
About
We're a small studio focused entirely on Ghost — designing themes that are clean, fast, and built to last. From layout to typography, every detail is considered so you can focus on your content. We believe good design should feel unique, without compromising function.
Support
Stuck on something, or just have a question about this theme? Drop us a message — we usually reply within 24 hours.
People Themes — Uncommon Ghost themes.